
 EN
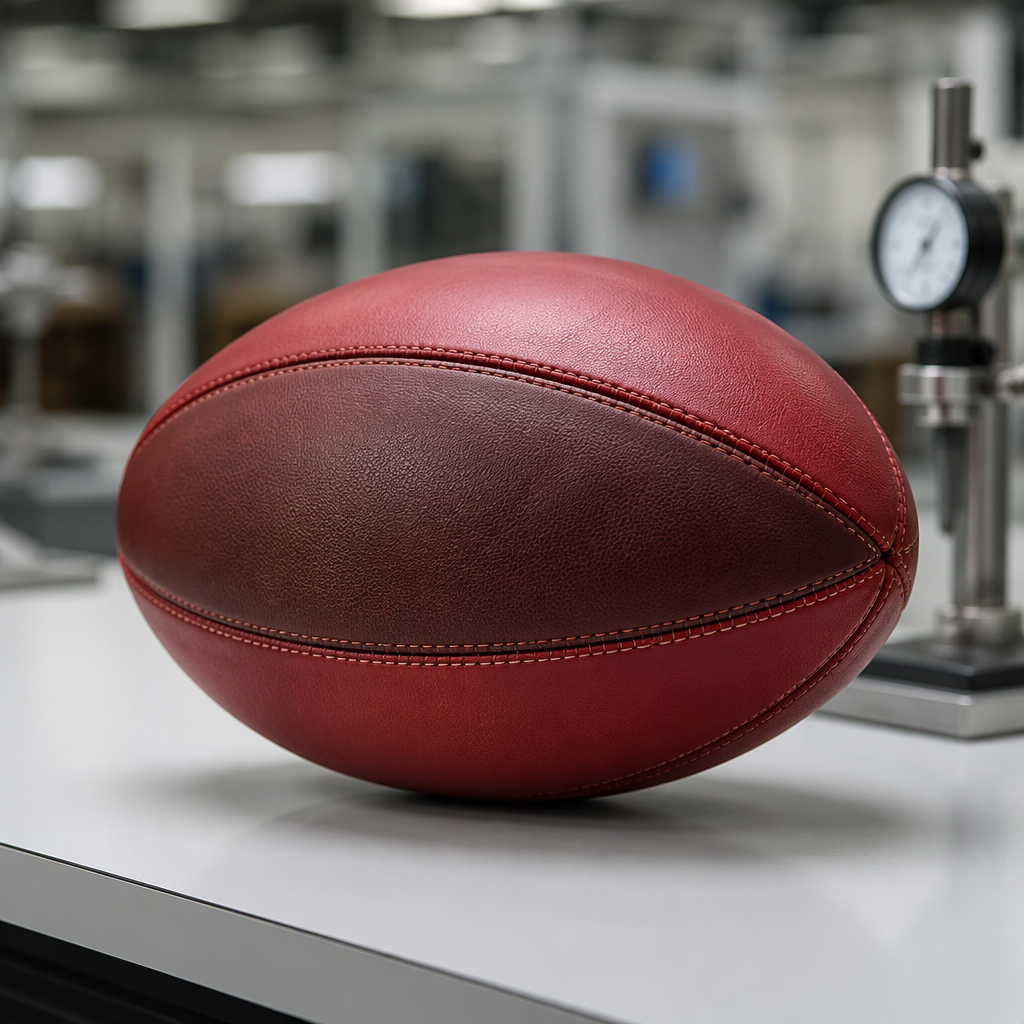
Rugby Ball Seam Inspection for Grip, Shape, and Long-Term Durability
Rugby ball seam inspection is essential because seams help define grip, shape, air stability, and resistance to repeated impact. A seam that looks acceptable in a flat panel can open, rise, or distort once the ball is inflated and used on a wet field. For B2B buyers, rugby ball seam inspection should combine dimensional checks, tactile review, strength testing, and finished-ball performance rather than relying on a quick visual approval.
What a seam must do
A rugby ball seam joins panels while preserving the intended oval profile. It should be secure, flexible, and consistent enough to support handling. If the seam allowance is uneven, the ball may develop a hard ridge or a soft indentation. If stitches are too loose, the cover can separate under impact. If the seam is over-tightened, the panel may pucker or pull out of shape.
The correct seam depends on the cover material, panel geometry, thread, stitch type, adhesive, and intended use. A training ball can use a robust practical construction, while a competition product may require a refined touch and controlled seam height. Both should be documented with measurable tolerances.
Inspection from panel to finished ball
Before stitching
Check panel dimensions, edge quality, cut accuracy, material thickness, and backing. Damaged edges or inconsistent thickness can prevent a clean join. Confirm that the correct panel version is being used and that artwork does not interfere with the seam allowance.
During stitching
Inspect stitch length, thread tension, seam allowance, backstitching, and alignment. Watch for skipped stitches, broken thread, loose ends, needle damage, and uneven curves. Record machine, operator, and shift when a recurring issue appears. A short in-line check can prevent a full batch from developing the same fault.
After inflation
Inflate the ball to the approved pressure and inspect the seam while rotating it. Feel for high spots, gaps, exposed adhesive, puckering, or sharp thread ends. Measure circumference and ovality on more than one axis. Inflation exposes tension problems that are hidden when the cover is flat.
Testing grip and seam durability
Grip is influenced by seam depth and surface treatment. Have experienced users handle samples in dry and damp conditions, using the intended ball pressure. Note whether the seam supports control or creates an uncomfortable ridge. Objective seam-height measurements can support this feedback.
Run repeated impact, flex, and wet-dry cycles appropriate to the product. Inspect for opened stitches, broken thread, delamination, cover cracking, and changes in shape. A sample should be examined after testing, not merely dropped and returned to stock without documentation.
Typical failure causes
Loose thread tension, blunt needles, incorrect seam allowance, contaminated adhesive, unsuitable thread, and rushed curing can all weaken a seam. Material shrinkage may also pull a correctly stitched seam out of alignment. The supplier should investigate the process rather than applying a cosmetic repair over a structural defect.
Keep failed samples and identify the failure location. Compare them with machine settings, material batches, operator training, and inspection records. This helps distinguish a localized handling error from a broader pattern problem.
Creating a practical QC standard
Define acceptable limits for skipped stitches, loose ends, seam height, open gaps, puckering, surface damage, and ovality. Use photographs and physical samples for visual grading. Specify which defects are critical, major, or minor. Sampling should cover different production times and cartons, not only the first hour of assembly.
Keep an approved golden sample inflated at the normal pressure. Store it properly and label its version. If the cover, thread, panel pattern, machine, or stitching method changes, repeat sample approval and rugby ball seam inspection.
Export and reorder considerations
Long transit and storage can expose weak seams to compression, heat, and moisture. Test the final packing arrangement and inspect balls after conditioning. For repeat orders, compare seam measurements and failure rates with the baseline. A supplier should notify the buyer before substituting thread, adhesive, or cover material.
Receiving and field feedback
After delivery, inspect a selection from different cartons before releasing stock. Coaches can report whether the seam feels consistent in passing drills and whether wet handling changes control. Photograph any opened stitch or abnormal ridge and link it to the carton and production lot. This feedback gives the factory a practical way to refine rugby ball seam inspection and helps the buyer decide whether a corrective action is needed before the next seasonal order.
Conclusion
Rugby ball seam inspection protects grip, shape, air stability, and service life. Inspect panels before joining, monitor stitching, evaluate seams on the inflated ball, and test them under realistic handling and moisture conditions. With clear tolerances and traceable corrective action, B2B buyers can reduce seam-related returns and maintain a rugby ball that performs consistently across every order.
Inspection questions for procurement teams
Ask the supplier how often seam gauges are checked, how stitching operators are trained, and what happens to balls that fail a pressure or shape test. Request photographs of a normal seam and examples of major defects. Review whether the inspection sample includes every colorway and production shift. These questions make rugby ball seam inspection a shared process rather than a final-stage dispute, and they give the buyer practical evidence when approving a repeat shipment.