
 EN
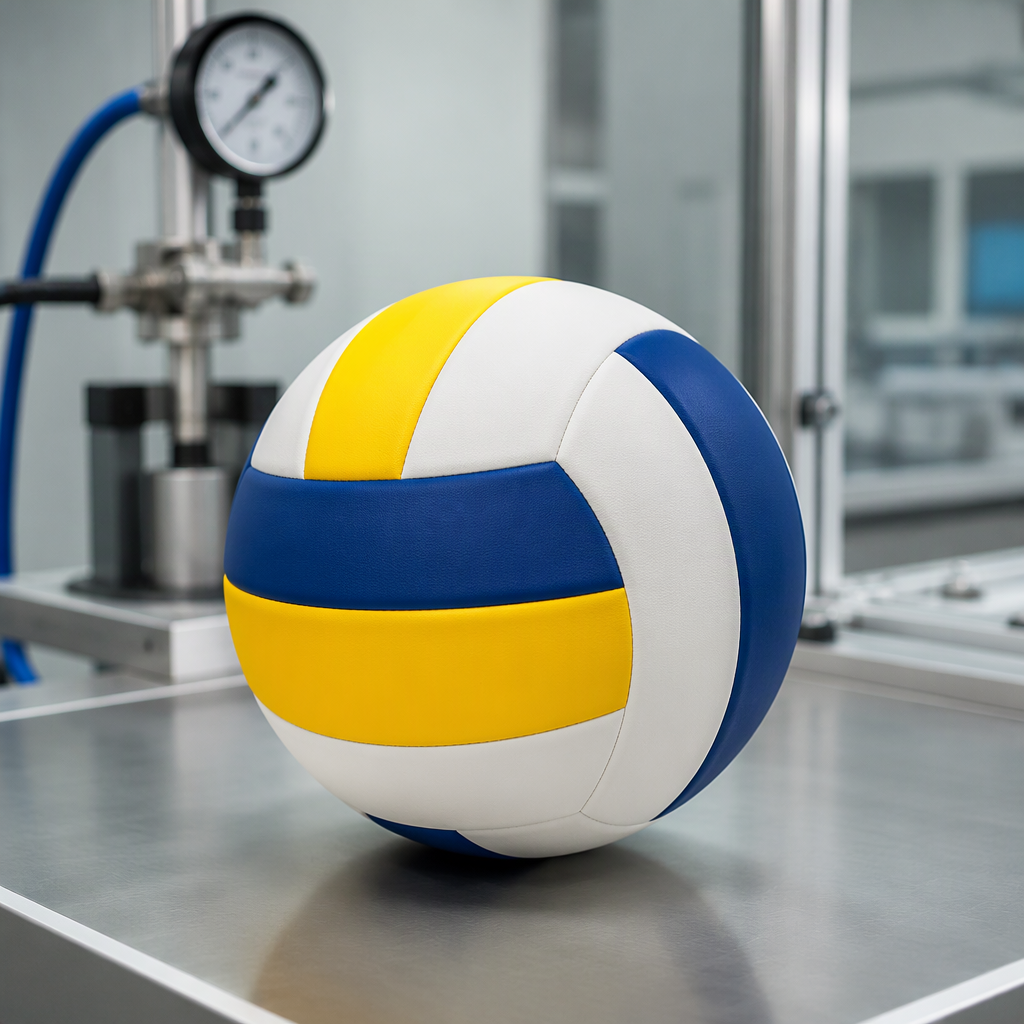
Volleyball Bladder and Valve Inspection for Consistent Air Retention
Volleyball bladder and valve inspection protects one of the most important performance expectations in a ball: it should stay inflated and remain easy to use. Air loss can result from a weak bladder, poor valve bonding, damaged stems, or an inconsistent assembly process. For B2B buyers, volleyball bladder and valve inspection should begin with incoming components and continue through finished-ball testing, because a short visual check cannot reveal every slow leak.
Define the complete air-retention system
The bladder stores the air, the valve permits inflation, and the surrounding carcass and cover support the shape. These parts must be compatible. Bladder compound, wall thickness, valve material, adhesive, insertion force, and curing conditions all influence the seal. A supplier should identify the approved combination rather than treating the valve as a generic part.
Specify the target pressure, temperature range, hold time, acceptable pressure loss, and inflation needle requirement. A school ball that is inflated frequently may need a different repeated-use test from a competition ball stored for events. Clear requirements make volleyball bladder and valve inspection objective and help a factory select appropriate gauges and fixtures.
Incoming inspection of bladders and valves
Inspect bladder dimensions, surface condition, elasticity, seams, and visible contamination. Check that valve openings are clean and that no component has cuts, cracks, burrs, or deformation. Sample measurements should be compared with the approved drawing and material standard. Record component lot numbers so that a later leakage pattern can be traced.
Storage matters. Rubber and synthetic components can change when exposed to heat, sunlight, ozone, or long periods of compression. Keep them in a controlled area and use a first-in, first-out process where appropriate. A component that passes inspection when received may perform differently after poor storage.
Valve insertion and bonding controls
The valve should be inserted with a consistent method that avoids twisting or damaging the bladder. Adhesive coverage, surface preparation, open time, and curing must be defined. Operators should use clean tools and fixtures, and supervisors should verify the process at the start of each shift.
Inspect valve alignment before the cover is closed. The stem should be accessible, centered within its tolerance, and free from adhesive contamination. If the valve is too close to a seam or panel corner, inflation may be difficult and local stress may increase. Include a position check in the assembly report.
Testing for immediate and slow leaks
After assembly, inflate balls to the approved pressure with a calibrated gauge. Check the valve area for immediate leakage using an appropriate solution or immersion method, then hold a sample for a defined period and record the pressure change. The test environment should be stable because temperature changes can look like air loss.
For volleyball bladder and valve inspection, repeat inflation and deflation on selected samples. Insert and remove the correct needle the specified number of times, then check for stem damage and pressure loss. This test reflects the experience of schools and clubs that service balls throughout a season.
Evaluating finished-ball behavior
Air retention should be linked to shape and performance. After the hold test, inspect circumference, roundness, weight, and valve position. A bladder may retain pressure but still create a soft spot or uneven surface if it is displaced. Rotate the ball, check seams, and compare it with the approved golden sample.
Conditioning at different temperatures can reveal weak seals or material incompatibility. Use a controlled protocol appropriate to the destination rather than an extreme test that does not reflect use. Document the conditioning time, pressure reading, and inspection result.
Handling failures and corrective action
When a ball fails, separate immediate leaks from slow leaks and record the location. A leak at the valve stem suggests a different cause from a bladder seam leak or a puncture caused during stitching. Retain failed samples for analysis and compare component lots, operators, adhesive batches, and curing records.
Do not solve repeated failures by simply adding more adhesive. Excess material can create a hard spot or interfere with the cover. Corrective action should address the cause and be verified with a new sample lot. If the valve or bladder source changes, repeat validation before mass production.
Documentation for reorders
Keep the valve drawing, bladder specification, approved component samples, gauge calibration records, air-retention method, and inspection reports together. Compare reorder results against the original baseline. Changes to valve supplier, adhesive, material thickness, or assembly equipment should trigger a review.
Conclusion
Consistent air retention depends on a controlled bladder, valve, bonding, and testing system. A complete volleyball bladder and valve inspection process checks components, assembly, immediate leakage, repeated inflation, pressure hold, shape, and traceability. By documenting the approved combination and comparing every lot with it, B2B buyers can reduce service complaints and supply volleyballs that remain dependable through training and competition.